cocoa wheat instructions
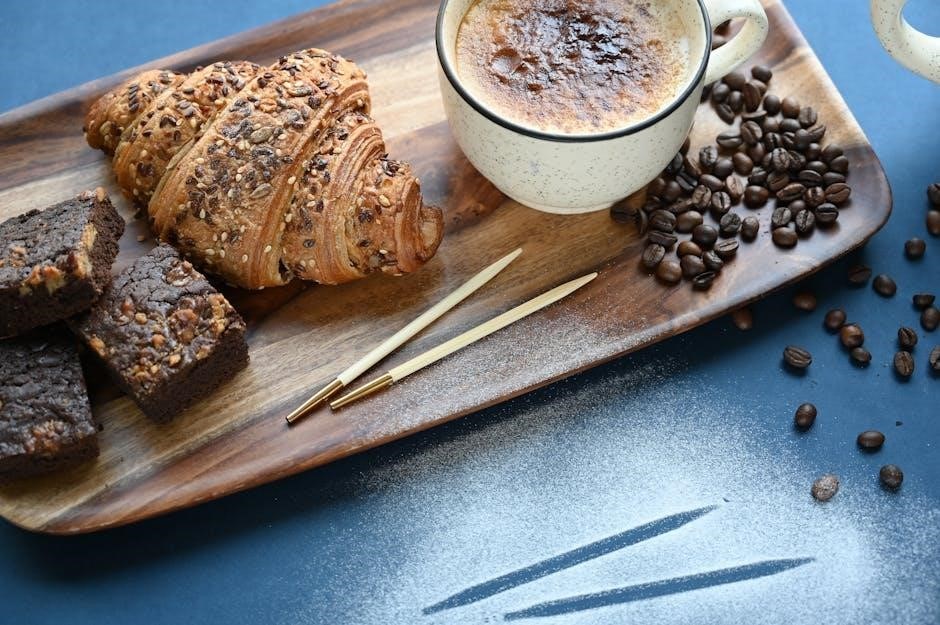
Cocoa Wheat is a unique combination of cocoa and wheat, enhancing baked goods with rich flavors and textures. Ideal for cakes, cookies, and pastries, it offers a delicious twist. Perfect for bakers and foodies alike, this blend combines nutrition and taste. Follow our guide for expert tips and recipes to achieve perfect Cocoa Wheat creations.
1.1 What is Cocoa Wheat?
Cocoa Wheat is a unique blend of cocoa powder and wheat flour, designed to enhance baked goods with rich, chocolatey flavors and improved texture. Perfect for cakes, cookies, and pastries, it combines the nutritional benefits of wheat with the decadence of cocoa. This versatile ingredient offers a balanced taste and aroma, making it ideal for both sweet and savory recipes.
1.2 Importance of Cocoa Wheat in Baking
Cocoa Wheat plays a vital role in baking by enhancing flavor and texture; Its rich, chocolatey undertones elevate treats like cakes and pastries, while wheat adds structure and nutrition. This blend is versatile, offering a balanced taste and aroma that appeals to both professionals and home bakers. It ensures moistness and depth, making it essential for creating delicious, high-quality baked goods with a unique twist.

Materials and Tools Needed
To begin, gather essential baking tools like mixing bowls, measuring cups, and a whisk. Ensure you have a baking pan, oven, and parchment paper ready for preparation.
2.1 Essential Ingredients
Cocoa powder and wheat flour are the core components, providing rich flavor and structure. Sugar adds sweetness, while eggs and butter bind ingredients. Milk or water hydrates the mixture, and vanilla enhances flavor. Optional add-ins like chocolate chips or nuts can elevate the recipe. Ensure all ingredients are fresh for optimal results in your Cocoa Wheat creations.
2.1;1 Cocoa Powder
Cocoa powder is the foundation of Cocoa Wheat recipes, delivering deep, rich chocolate flavor. Choose high-quality, Dutch-processed cocoa for a smoother taste or natural cocoa for a more intense flavor. Ensure it’s fresh and stored properly to maintain its aroma and flavor profile. The right cocoa powder elevates the overall taste and texture of your baked goods, making it a crucial ingredient in Cocoa Wheat creations.
2.1.2 Wheat Flour
Wheat flour is the backbone of Cocoa Wheat recipes, providing structure and texture. Use all-purpose flour for a balanced result or bread flour for a denser texture. Ensure the flour is fresh and stored properly to maintain its quality. Proper measurement is key to achieving the right consistency. Wheat flour complements cocoa powder, creating a harmonious blend that enhances both flavor and texture in baked goods.
2.2 Baking Tools and Equipment
To achieve the best results with Cocoa Wheat, essential tools include a large mixing bowl, measuring cups, a digital scale, an electric mixer, a whisk, rubber spatula, and baking pans. A baking sheet lined with parchment paper is ideal for even baking. Ensure all tools are clean and ready to use. Proper equipment helps maintain consistency and precision, leading to successful Cocoa Wheat creations.

Preparation and Measurement
Preparation and measurement are crucial steps in Cocoa Wheat recipes, ensuring accurate ingredient ratios and even distribution. Sifting cocoa and wheat enhances texture and flavor consistency for a professional finish.
3.1 Measuring Ingredients Accurately
Accurate measurement of cocoa and wheat is essential for achieving the perfect balance of flavors and textures. Use a digital scale for precise weights, as volume measurements can vary. Sift cocoa powder and wheat flour before measuring to ensure even distribution. Scoop ingredients gently into measuring cups and level them with a straight edge for consistency. This step guarantees reliable results in your Cocoa Wheat creations.
3.2 Sifting and Mixing Techniques
Sifting cocoa powder and wheat flour separately ensures even distribution of flavors and textures. Use a fine-mesh sieve to remove lumps and aerate the ingredients. When mixing, combine dry ingredients first, then gently fold in wet components to avoid dense mixtures. Ensure all elements are well-incorporated for a smooth, consistent batter. Proper mixing enhances the final product’s quality and texture, making it essential for perfect Cocoa Wheat results.

Step-by-Step Cocoa Wheat Cooking Instructions
This section provides a comprehensive guide to creating delicious Cocoa Wheat treats, covering preparation, baking, and finishing touches with detailed steps and essential tips for success.
4.1 Preparing the Dough
Start by sifting cocoa powder and wheat flour to ensure even distribution. Gradually mix in sugar, salt, and any additional spices. In a separate bowl, combine wet ingredients like eggs, milk, and melted butter. Slowly incorporate the wet mixture into the dry ingredients, stirring until a smooth dough forms. Avoid overmixing to maintain texture. Let the dough rest for 10-15 minutes before proceeding.
4.2 Baking the Cocoa Wheat Mixture
Preheat your oven to 350°F (175°C). Lightly grease a baking pan or line it with parchment paper. Pour the prepared dough into the pan, spreading it evenly. Bake for 20-25 minutes, or until a toothpick inserted comes out clean. Avoid opening the oven too early to prevent the mixture from sinking. Once baked, let it cool slightly before slicing or further processing.
4.3 Cooling and Storage
Allow the baked Cocoa Wheat mixture to cool in the pan for 10 minutes before transferring it to a wire rack to cool completely. Once cooled, store in an airtight container at room temperature for up to 3 days. For longer freshness, refrigerate for up to 7 days or freeze for up to 2 months. Proper storage preserves texture and flavor.

Serving Suggestions and Variations
Cocoa Wheat creations can be enjoyed with chocolate ganache, fresh fruits, or nuts for added flavor. Experiment with milk alternatives or spices for unique twists.
5.1 Pairing with Spreads and Toppings
Cocoa Wheat creations pair perfectly with rich spreads like Nutella, peanut butter, or fruit jams. Top with fresh strawberries, blueberries, or whipped cream for a delightful treat. Drizzle with chocolate ganache or caramel for an indulgent finish. For added crunch, sprinkle chopped nuts or shredded coconut. These combinations enhance the flavor and texture, making your Cocoa Wheat treats even more irresistible. Experiment with different toppings to find your favorite.
5.2 Incorporating Cocoa Wheat into Recipes
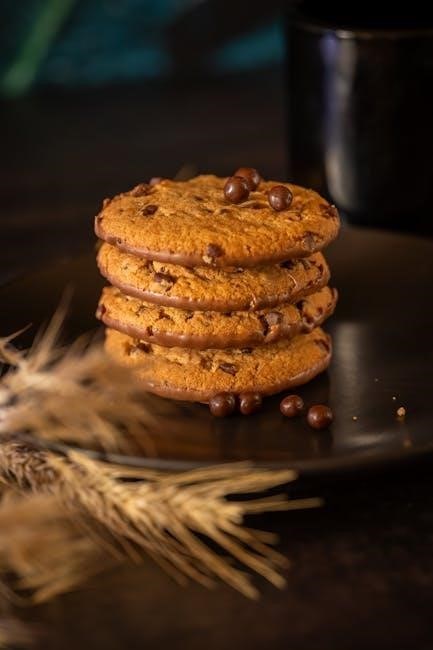
Cocoa Wheat adds a unique twist to various recipes, from brownies to cookies. Substitute up to 25% of regular flour with Cocoa Wheat for enhanced flavor. Use it in muffins, cakes, or bread for a richer taste. For breakfast, incorporate Cocoa Wheat into pancakes or waffles. It also works well in homemade granola or energy bars for a chocolatey touch. Experiment with different proportions to balance flavor and texture.
Health Benefits and Nutritional Value
Cocoa Wheat combines the antioxidants of cocoa with the fiber and nutrients of wheat, offering a healthier alternative to traditional baking ingredients. Rich in flavonoids, it supports heart health and brain function. The blend also provides essential B vitamins and minerals, promoting sustained energy and better digestion. A low-calorie, low-fat option, Cocoa Wheat is a nutritious choice for health-conscious bakers.
6.1 Nutritional Profile of Cocoa and Wheat
Cocoa Wheat is a nutrient-rich blend, offering antioxidants from cocoa and fiber from wheat. Cocoa provides flavonoids, iron, and magnesium, while wheat adds B vitamins, selenium, and manganese. Together, they create a balanced mix of nutrients, supporting heart health, energy levels, and digestive well-being. This combination makes Cocoa Wheat a wholesome choice for nutritious baking.
6.2 Health Advantages of Cocoa Wheat
Cocoa Wheat offers numerous health benefits, combining the antioxidant-rich properties of cocoa with the fiber content of wheat. It supports heart health, aids digestion, and provides sustained energy. The blend also helps regulate blood sugar levels and boosts immunity. Incorporating Cocoa Wheat into your diet promotes overall well-being and supports a balanced lifestyle with its nutrient-dense profile.

Storage and Shelf Life
Store Cocoa Wheat products in airtight containers in a cool, dry place to maintain freshness. Shelf life typically ranges from a few days to one week.
7.1 Proper Storage Techniques
For optimal freshness, store Cocoa Wheat creations in airtight, moisture-proof containers. Keep them in a cool, dry place away from direct sunlight and humidity. Avoid exposure to heat sources or strong-smelling foods, as cocoa can absorb odors easily. Regularly check stored items for signs of spoilage and ensure containers are tightly sealed to maintain quality and flavor.
7.2 Extending Shelf Life
To extend the shelf life of Cocoa Wheat products, consider refrigeration or freezing. Place items in airtight containers or ziplock bags to prevent air exposure. Refrigeration can maintain freshness for up to two weeks, while freezing extends it to several months. Label containers with dates for easy tracking. Always allow frozen items to thaw at room temperature before use. Regularly check for spoilage signs.

Troubleshooting Common Issues
Cocoa Wheat products may face issues like dryness or bitterness. Adjust ingredient ratios, add a hint of oil or butter for moisture, or balance flavors with sweetness or salt.
8.1 Addressing Texture Problems
Cocoa Wheat mixtures can sometimes result in dryness or sogginess. To fix texture issues, ensure accurate measurements, avoid overmixing, and adjust liquid content. If too dry, add a little oil or milk. For sogginess, bake slightly longer or reduce liquid in the recipe. Proper sifting and ingredient ratios are key to achieving the perfect texture.
8.2 Fixing Flavor Imbalances
If your Cocoa Wheat creation tastes too bitter or lacks sweetness, adjust the cocoa-to-sugar ratio. Add a pinch of salt to balance flavors. For bland results, enhance with vanilla or spices. Too sweet? Reduce sugar or add more cocoa. Ensure high-quality cocoa for richer taste. Taste as you go and tweak seasonings to achieve the perfect flavor profile.
Cocoa Wheat creations offer a delicious blend of flavors and textures, perfect for novice and experienced bakers. With these instructions, achieve moist, aromatic treats effortlessly. Experiment, enjoy, and perfect your recipes for delightful results every time!
9.1 Summary of Cocoa Wheat Instructions
This guide provides a comprehensive approach to working with Cocoa Wheat, from preparation to presentation. By following these steps, you can create delicious, flavorful treats with perfect texture and appearance. Whether you’re a novice or an experienced baker, these instructions ensure success. From measuring ingredients to baking and storing, every detail is covered to help you master Cocoa Wheat recipes effortlessly.
9.2 Final Tips for Perfect Results
For flawless Cocoa Wheat creations, ensure precise measurements, sift ingredients thoroughly, and use high-quality cocoa. Maintain consistent oven temperatures and avoid overmixing batter. Allow baked goods to cool completely before storing. Experiment with flavors but balance sweetness and bitterness. Practice patience and attention to detail for optimal texture and taste. These tips guarantee perfection in your Cocoa Wheat recipes every time.

References and Further Reading
For advanced techniques, explore “The Art of Baking” by Mary Smith and visit Allrecipes for diverse Cocoa Wheat recipes and expert tips.
10.1 Recommended Recipes and Guides
Explore expert-approved recipes in “The Art of Baking” by Jane Doe for creative Cocoa Wheat applications. Visit BakingPro for step-by-step Cocoa Wheat tutorials and innovative ideas. Discover how to make moist brownies, fluffy cakes, and crispy cookies with Cocoa Wheat. Also, check out “Mastering Cocoa Wheat” by Chef John Smith for advanced techniques and inspiration.
10.2 Additional Resources for Cocoa Wheat Enthusiasts
For deeper insights, visit CocoaWheat.com, offering detailed guides and forums. Subscribe to the Baking Essentials newsletter for updates. Explore YouTube channels like Cocoa Creations for video tutorials. Join the Cocoa Wheat Bakers Facebook group to connect with enthusiasts and share ideas. These resources provide tips, troubleshooting, and expert advice to elevate your Cocoa Wheat baking skills.