tie dye instructions pdf
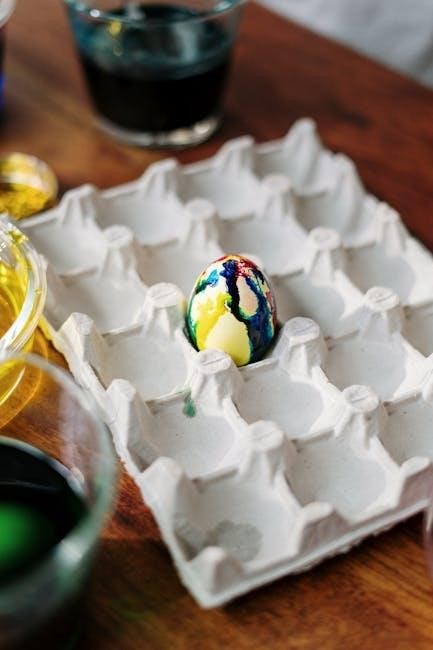
Tie dye is a vibrant and creative art form that involves folding fabric into unique patterns and applying dye to achieve stunning‚ one-of-a-kind designs. With step-by-step guides like tie dye instructions PDFs‚ beginners can easily learn this fun and versatile craft‚ experimenting with colors and folds to create personalized pieces. Whether you’re working with natural dyes or vibrant chemicals‚ tie dye offers endless possibilities for self-expression and artistic exploration.
1.1 What is Tie Dye?
Tie dye is a traditional textile craft where fabric is folded‚ tied‚ or pleated before dyeing to create unique‚ resistant patterns. This art form allows for vibrant‚ one-of-a-kind designs‚ making it a popular choice for DIY enthusiasts and fashion lovers. With the help of tie dye instructions PDFs‚ anyone can learn this creative technique‚ which works well on various fabrics and skill levels‚ producing stunning results every time.
1.2 Brief History of Tie Dye
Tie dye has its roots in ancient cultures‚ with evidence of similar techniques found in African‚ Asian‚ and Latin American traditions. The method gained global popularity in the 1960s as a symbol of counterculture movements. Today‚ tie dye remains a beloved craft‚ with modern guides like tie dye instructions PDFs making it accessible to everyone‚ ensuring its timeless appeal endures through generations of artists and fashion enthusiasts.
1.3 Popularity of Tie Dye in Modern Fashion
Tie dye has experienced a resurgence in modern fashion‚ with designers incorporating bold‚ handcrafted patterns into high-end collections. Its versatility across fabrics and styles makes it a favorite for both casual wear and luxury apparel. Tie dye instructions PDFs have further fueled its popularity‚ allowing DIY enthusiasts to create custom pieces. This timeless technique continues to inspire fashion-forward individuals‚ blending creativity with sustainability in contemporary trends.
Materials Needed for Tie Dye
To get started with tie dye‚ you’ll need specific supplies‚ including rubber bands‚ gloves‚ dye powder‚ soda ash‚ a bucket‚ and suitable fabric like cotton or hemp.
2.1 Fabric Types Suitable for Tie Dye
Cotton and hemp fabrics are ideal for tie dye due to their natural fibers‚ which absorb dye effectively; Rayon and bamboo also work well‚ offering soft textures. Synthetic fabrics like polyester and nylon are less suitable as they resist dye absorption. Pre-washing and drying fabric before dyeing ensures best results. Choose breathable‚ natural materials for vibrant‚ long-lasting colors in your tie dye projects.
2.2 Dyeing Supplies: A Comprehensive List
To begin tie dye‚ gather essential supplies: rubber bands‚ gloves‚ and protective eyewear. Choose high-quality dye powders or pre-mixed dyes. Include soda ash as a fixative for vibrant colors. Use plastic buckets or containers for soaking and dyeing. Add measuring cups‚ spoons‚ and a thermometer for precise mixing. Optional items like resist paste or shibori tools can enhance patterns. Ensure all materials are ready before starting your project for smooth execution.
2.3 Tools and Accessories for Tie Dye Patterns
Essential tools for achieving unique tie-dye patterns include rubber bands for folding‚ S-shaped resist tools to create intricate designs‚ and clamps for securing fabric. A folding board helps in crafting precise pleats‚ while dye applicators like squeeze bottles ensure targeted color placement. Additional accessories like string or zip ties can add texture and variety. These tools empower creativity‚ allowing you to experiment with diverse techniques and achieve professional-looking results.
Preparation Before Dyeing
Preparation involves washing and drying fabric to ensure optimal dye absorption. Protect your workspace with newspaper or a drop cloth. Wear gloves and old clothes for safety.
3.1 Washing and Drying Fabric Before Dyeing
Washing and drying fabric before dyeing is essential to remove finishes and impurities that may hinder dye absorption. Use a mild detergent without fabric softener. Dry the fabric thoroughly to ensure even dye distribution. Avoid using fabric softener in the wash or dryer‚ as it can repel dye. Proper preparation ensures vibrant‚ long-lasting colors and optimal results for your tie-dye project.
3.2 Choosing the Right Dye for Your Fabric
Selecting the right dye for your fabric ensures vibrant and long-lasting colors. For natural fibers like cotton and hemp‚ fiber-reactive dyes are ideal. Protein fibers‚ such as silk and wool‚ require acid dyes. Always match the dye type to your fabric for optimal colorfastness. Natural dyes are a sustainable option for eco-friendly projects. Choose dyes that align with your fabric and desired color intensity for the best results.

Folding Techniques for Tie Dye
Folding techniques are the heart of tie dye‚ creating unique patterns like spirals‚ knots‚ and pleats. Experiment with basic and advanced folds to achieve stunning designs.
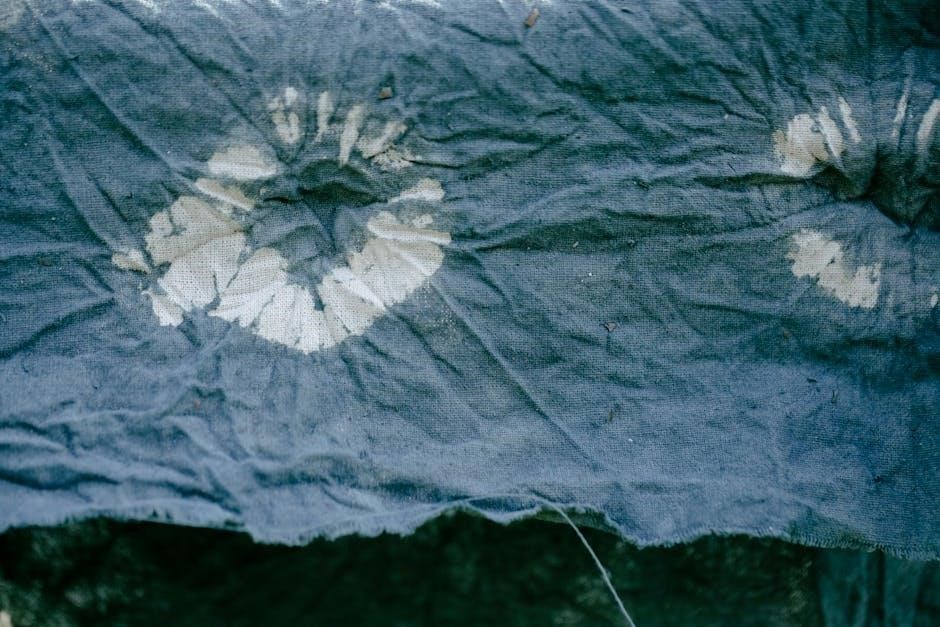
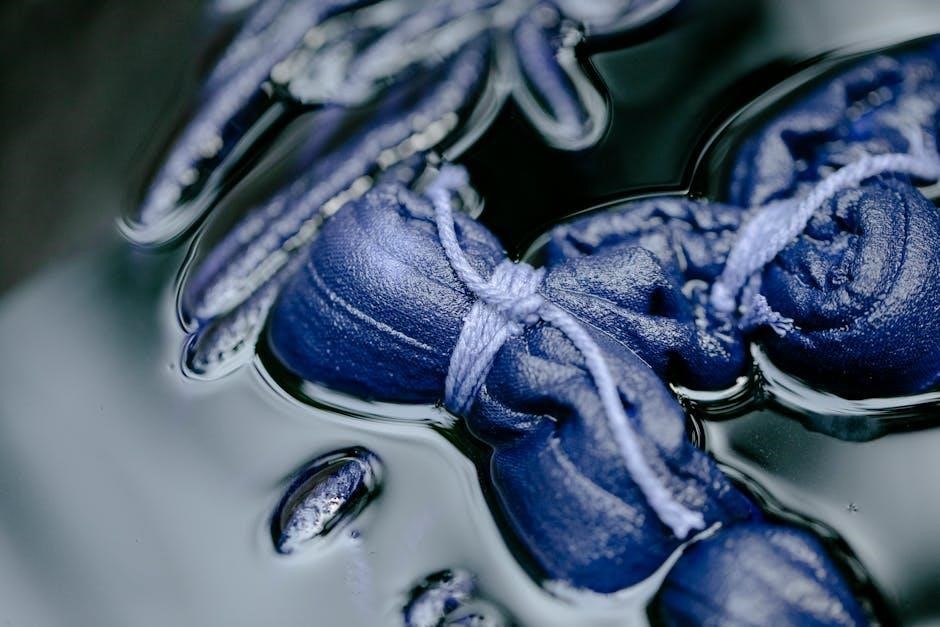
4.1 Basic Folding Methods: Spirals‚ Knots‚ and More
Mastering basic folding techniques is essential for tie dye. Start with simple spirals by coiling fabric into a circular shape and securing with rubber bands. Knots involve twisting and binding fabric to create unique resistance areas. Other methods include pleating‚ accordion folds‚ and scrunching. Each technique creates distinct patterns when dye is applied. Experiment with these folds to achieve classic tie dye designs and build a foundation for more complex patterns.
4.2 Advanced Folding Techniques for Unique Patterns
For more intricate designs‚ try advanced folding techniques like folding fabric into strips and binding them with threads‚ or creating 3D shapes. Layering folds can produce multi-dimensional patterns‚ while folding and twisting fabric in alternating directions creates dynamic‚ asymmetrical effects. Experiment with accordion pleats or folding fabric into geometric shapes for bold‚ visually striking results. These techniques allow for greater creativity and precision in achieving unique tie dye patterns.
Safety Precautions
Wear gloves‚ masks‚ and goggles to protect yourself from dye exposure. Work in a well-ventilated area to avoid inhaling fumes. Handle dyes carefully to prevent skin and eye irritation.
5.1 Protective Gear: Gloves‚ Masks‚ and Goggles
Protective gear is essential for tie-dye projects. Use gloves to prevent skin exposure to dyes‚ masks to avoid inhaling fumes‚ and goggles to shield eyes from splashes. Ensure a snug fit for goggles and opt for disposable masks. Proper gear prevents accidents and ensures a safe‚ enjoyable experience. Always dispose of gloves and masks responsibly after use to maintain hygiene and environmental safety.
5.2 Working in a Well-Ventilated Area
Always work in a well-ventilated area to avoid inhaling dye fumes. Open windows and use fans to ensure good airflow. Avoid confined spaces‚ as fumes can accumulate quickly. Proper ventilation enhances safety and comfort‚ preventing dizziness or respiratory discomfort. It also ensures the dyeing process is efficient and successful. Maintain a breathable environment throughout the project for optimal results and personal well-being.
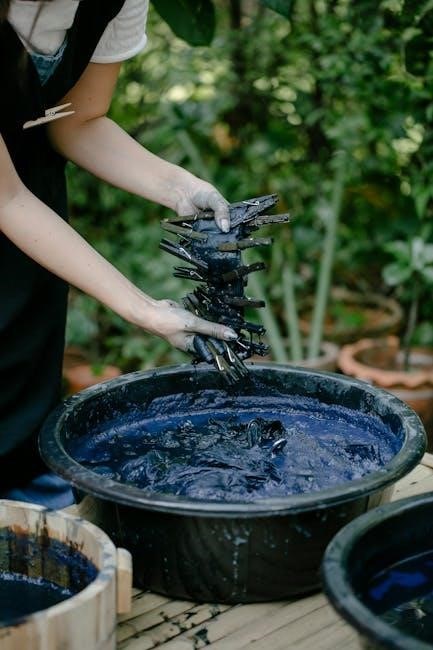
Applying the Dye
After mixing the dye‚ apply it evenly to the folded fabric using squeeze bottles or brushes for unique patterns. Follow instructions for best results and vibrant colors.
6.1 Mixing the Dye: Step-by-Step Instructions
Start by gathering your dye supplies‚ including the dye powder‚ soda ash‚ and warm water. Follow the instructions on the dye package for precise measurements. Mix the dye in a well-ventilated area‚ stirring thoroughly to dissolve the powder. Add soda ash to the water first if pre-treating the fabric. Test the color consistency by dipping a small fabric scrap. Adjust as needed for desired shades. Always use gloves and protective gear when handling dye mixtures to avoid skin irritation. Proper mixing ensures vibrant‚ long-lasting colors. Experiment with ratios for unique hues‚ and consider layering colors for multicolored effects. Allow the dye to sit for a few minutes before applying to ensure even distribution. This step is crucial for achieving professional-looking results. For natural dyes‚ follow specific instructions to enhance color fastness and durability. Mixing the dye correctly sets the foundation for a successful tie-dye project.
6.2 Applying the Dye to Fabric: Tips and Tricks
Apply the dye evenly using squeeze bottles or brushes‚ focusing on folded sections for unique patterns. Work in a well-ventilated area and wear gloves to prevent staining. For vibrant colors‚ ensure the fabric is pre-treated with soda ash. Experiment with layering colors for multicolored effects. Avoid over-saturating the fabric to prevent excessive bleeding. Use protective gear and follow safety guidelines for best results. This step brings your design to life‚ creating distinctive and eye-catching patterns.
Drying and Washing After Dyeing
Allow the dye to set for 24 hours. Wash gently inside out in cold water with mild detergent‚ then air dry to preserve colors.
7.1 Allowing the Dye to Set: Timing and Tips
After applying the dye‚ let the fabric sit for 24 hours to allow the colors to fully set. Keep it away from direct sunlight and moisture during this time. To enhance color retention‚ avoid moving or handling the fabric excessively. Covering it with plastic wrap can prevent dust from interfering. Patience is key‚ as proper setting ensures vibrant and long-lasting results.
7.2 Washing the Dyed Fabric: Best Practices
After the dye has set‚ gently rinse the fabric in cold water to remove excess dye. Wash separately in cold water using a mild detergent to prevent color bleeding. Avoid using bleach or fabric softeners‚ as they can fade the colors. Turn the fabric inside out before washing to protect the design. For subsequent washes‚ use cold water and a gentle cycle to maintain the vibrancy of the tie-dye pattern.

Fixing the Colors
Using fixatives like vinegar or commercial color setters helps lock in the dye‚ ensuring vibrant and long-lasting colors. Apply fixatives before the first wash to preserve the design.
8.1 Using Fixatives to Enhance Color Fastness
Fixatives are essential for ensuring long-lasting and vibrant colors in tie-dye projects. Commercial fixatives or natural alternatives like vinegar work by locking the dye into the fabric‚ preventing fading. Apply fixatives after the dyeing process‚ following the product’s instructions for optimal results. This step is crucial for maintaining the integrity and colorfastness of your design‚ especially on cotton and hemp fabrics‚ which dye beautifully but may bleed without proper fixing.
8.2 Tips for Long-Lasting Colors
For long-lasting tie-dye colors‚ wash fabrics before dyeing to remove finishers. Use high-quality dyes suited for your fabric type and follow instructions precisely. Heat-setting the colors by ironing or soaking in warm water enhances durability. Avoid harsh detergents and opt for cold water when washing dyed items. These practices ensure vibrant‚ fade-resistant results that maintain their beauty over time‚ making your tie-dye creations truly enduring.
Tips for Achieving Unique Patterns
Experiment with creative folding techniques and color layering to achieve unique‚ personalized designs. Explore tie-dye instructions PDFs for inspiration and step-by-step guides to master custom looks.
9.1 Experimenting with Different Folding Techniques
Exploring various folding methods is key to creating unique tie-dye patterns. Try spirals for circular designs‚ knots for resistance effects‚ or accordion pleats for stripes. Shibori folding offers intricate textures. Each technique yields distinct results‚ encouraging creativity. Experiment with folds to achieve personalized designs. Refer to tie-dye instructions PDFs for visual guides and step-by-step tutorials to master these techniques and elevate your craft.
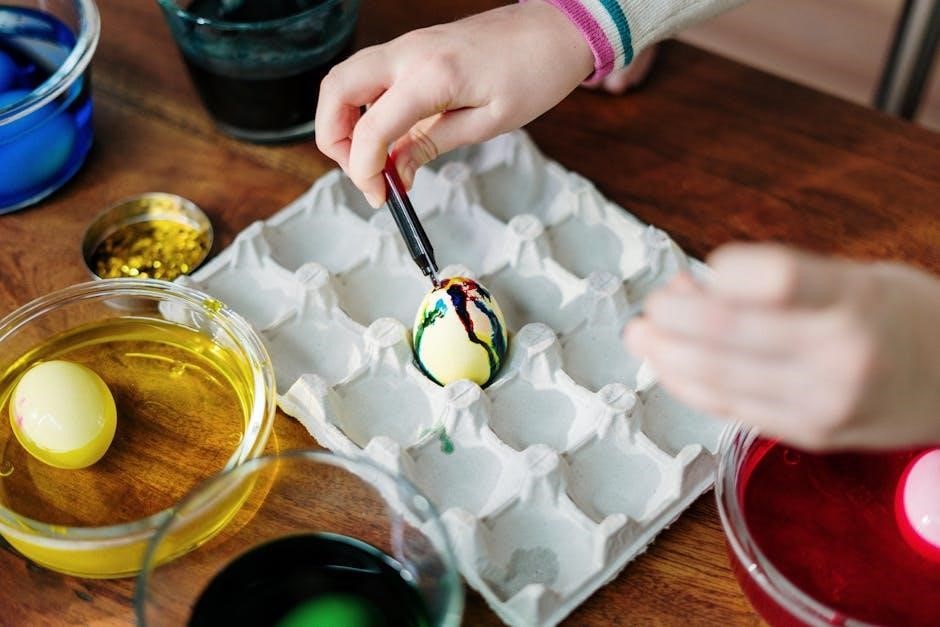
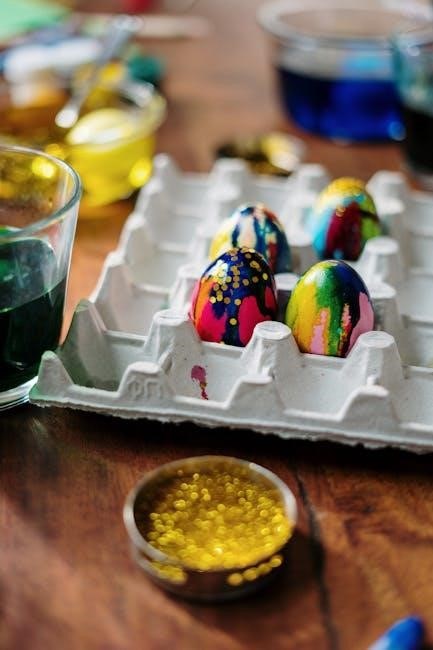
9.2 Layering Colors for Multicolored Effects
Layering colors is a fantastic way to achieve vibrant‚ multicolored effects in tie dye. Start with a base color‚ allow it to set‚ then add additional hues for depth. Use color theory to choose complementary shades for striking contrasts. Experiment with overlapping colors to create unique blends. For best results‚ follow tie dye instructions PDFs to ensure proper dye fixation and color layering techniques. This method adds complexity and visual interest to your designs.
Common Mistakes and Troubleshooting
Discover common tie-dye mistakes and learn how to fix them. Avoid over-saturating fabric and uneven folding. Use fixatives to enhance color fastness and ensure long-lasting results.
10.1 Avoiding Common Errors in Tie Dye
Avoiding common errors in tie dye is crucial for achieving professional results. Over-saturating the fabric can lead to muted colors‚ while improper folding may result in uneven patterns; Insufficient dye mixing can cause inconsistent color distribution. To prevent these issues‚ follow tie dye instructions PDF guides‚ which provide step-by-step methods for accurate measurements and techniques. Proper preparation and patience ensure vibrant‚ long-lasting designs.
10.2 Fixing Mistakes: A Quick Guide
If your tie dye project doesn’t turn out as expected‚ there are ways to fix it. For uneven color‚ re-dye the fabric using a darker shade. To prevent color bleeding‚ rinse thoroughly before washing. Fixing mistakes requires patience and quick action. Refer to tie dye instructions PDFs for tips on correcting common errors‚ such as using vinegar to set colors or adjusting dye ratios for better results.
Creative Variations of Tie Dye
Explore creative variations like using natural dyes or adding embellishments for unique designs. Tie dye instructions PDFs offer ideas for experimenting with patterns‚ colors‚ and techniques.
11.1 Using Natural Dyes for a Sustainable Option
Natural dyes offer an eco-friendly alternative to synthetic options. Plants‚ herbs‚ and spices can create unique‚ earthy hues for tie-dye projects. Tie dye instructions PDFs often highlight sustainable practices‚ such as using turmeric for yellow shades or indigo for blue tones. This approach not only reduces environmental impact but also adds an organic‚ timeless charm to your designs‚ making each piece truly special and responsibly crafted.
11.2 Incorporating Additional Designs and Embellishments
Beyond tie-dye‚ you can elevate your designs with creative embellishments. Stencils or stamps add precise patterns‚ while embroidery or appliqué introduces intricate details. Patchwork and quilting techniques transform tie-dye fabrics into layered masterpieces. Beads or sequins can add texture and sparkle. For a personalized touch‚ consider hand-painting or screen printing motifs onto dyed fabric. These additions turn simple tie-dye projects into unique‚ multidimensional works of art‚ blending tradition with modern flair;

Frequently Asked Questions (FAQs)
Tie dye FAQs address common questions about fabric suitability‚ colorfastness‚ washing tips‚ and troubleshooting. This guide provides clear answers to help you achieve optimal results.
12.1 Answers to Common Tie Dye Questions
Common questions about tie dye include fabric suitability‚ colorfastness‚ and washing tips. Cotton and hemp work best‚ while soda ash helps colors last. Folding techniques vary‚ but tight knots create vibrant patterns. Wash dyed fabrics separately in cold water to prevent color bleeding. For troubleshooting‚ fixatives can enhance color durability. Experiment with natural dyes for eco-friendly options and layer colors for unique effects. Always follow instructions for best results.
Tie Dye Projects for Beginners
Start with simple projects like tie-dye t-shirts‚ scarves‚ or socks. Follow step-by-step guides to master basic folds and color mixing for vibrant‚ personalized creations.
13.1 Simple Projects to Start With
Begin with easy tie-dye projects like t-shirts‚ scarves‚ or socks. These simple items allow you to practice basic folding techniques and color mixing. Use a tie-dye kit for convenience or experiment with individual supplies. Start with one-color designs to build confidence. Follow step-by-step guides from tie dye instructions PDFs to ensure success. These projects are perfect for mastering the basics before moving on to more complex creations. Experiment with folds and colors to create unique‚ personalized pieces.

Caring for Tie-Dyed Fabrics
Wash tie-dyed fabrics gently in cold water with mild detergent to preserve colors. Avoid soaking or using harsh chemicals. Air dry to prevent fading and maintain vibrancy.
14.1 Washing and Maintenance Tips
For tie-dyed fabrics‚ wash in cold water with a mild detergent to prevent color fading. Turn garments inside out before washing to protect the dyed surface. Avoid using bleach or harsh chemicals‚ as they can damage the fabric and alter colors. Air dry your tie-dye creations‚ as machine drying can cause shrinkage and color loss. For spotting‚ gently blot stains before washing. Always check the care label for specific fabric instructions to ensure longevity and vibrancy of your designs.
Tie dye is a creative and rewarding craft that allows for endless self-expression. With proper techniques and care‚ your unique designs will remain vibrant for years. Enjoy experimenting!
15.1 Final Tips and Encouragement
Embrace experimentation and creativity in tie dye—every pattern tells a unique story. Don’t fear mistakes; they often lead to exciting designs. Practice makes perfect‚ so keep exploring. Remember to follow safety guidelines and care instructions to preserve your vibrant creations. Most importantly‚ enjoy the process and share your artistic journey with others. Happy dyeing!